
Inspiration | How-To | Rack It 400KG
How to Get Started with Rack It 400KG Shelving:
A Step-by-Step Guide
Written by: Rea K | Lifestyle Writer – 04 June 2026
Reviewed by: Lachie K | Product Specialist – 04 June 2026
Read Time: 6 Minutes
Getting started with Rack It 400KG shelving is a simple five-step process: measure your space, choose the right setup, plan your layout, assemble with a mallet, and load shelves correctly.
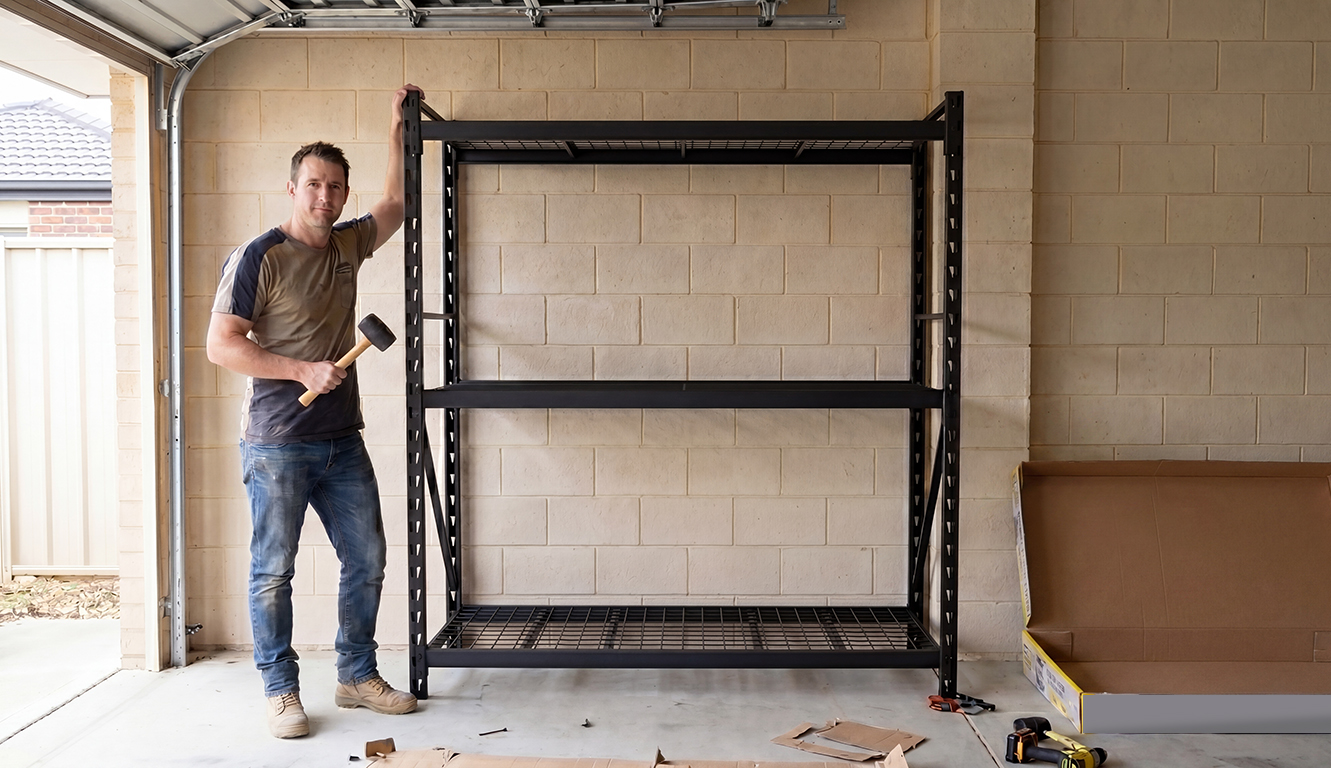
A Rack It 400KG Starter Kit is a great entry point
It assembles in around an hour and is built to expand with 400KG components and accessories available at Bunnings over time. Getting started with Rack It storage takes five steps:
1
Measure the space
2
Choose the right Rack It range based on load capacity and available space
3
Quick pick a Starter Kit or plan your layout using the Rack It Planner
4
Assemble the unit with a rubber mallet
5
Load shelves correctly following proper weight loading rules
Tools and Materials
A Rack It Starter Kit is designed to go from box to built in a matter of minutes. If building a customised shelving setup you designed on the Rack It Planner, it might take a bit longer depending on the size and complexity. But for both, there are no screws, no power tools, and no specialist skill required. Have these on hand before opening you start:
- Rubber Mallet (for shelving)
- Tape Measure
- Rack It Planner design code / design (if creating a custom configuration)
- Second set of hands, to help with tall and heavy components
- Other tools (if opting for Rack It 1000KG or Rack It PRO) and accessories
That’s the full list just for a Rack It Starter Kit. Note that other tools may be needed for anchoring.
Step 1: Measure the Space Before Anything Else
Measure wall width, height and clearance before choosing your shelving.
The single most common reason a first setup needs to be returned or reconfigured is that the space wasn’t measured first. Five minutes with a tape measure prevents the trip back to Bunnings. Measure three things: the wall length where the unit will sit, the floor-to-ceiling height, and the clearance needed in front of the bay (for the car door, the workbench, or whatever else that needs to be considered in the space).
Write the numbers down. The Rack It 400KG shelving footprint can go up to 1841mm wide, 2136mm tall and either 430mm or 530mm deep. Shorter uprights and narrower beams and shelves are also available across the range.
The range is sized to suit the walls of a typical Australian garage, shed or workshop. The point of measuring up front is to know which Kit can fit and be built right now, before unpacking anything. It also tells you whether the current space leaves room to expand the bay later if storage needs grow.

Measure up. Wall length, floor-to-ceiling height, and the clearance you need in front of the bay.
Step 2: Start with the Rack It 400KG Range
Choose the Rack It 400KG range for everyday storage needs and an easy, beginner-friendly starting point.
For most first-time buyers, the Rack It shelving from the 400KG range is a good place to start, with a Starter Kit available as a ready-to-assemble option. The Rack It 400KG range is strong enough for everyday household loads, sized for a typical garage wall, and available in both 430mm and 530mm depths. MDF and wire shelving options are also available.
Each Rack It 400KG shelf holds up to 400kg evenly distributed, which is the engineered, tested rating across the range. A single shelving unit or bay takes a maximum of four shelves with a total bay weight rating of 1600kg evenly distributed.
Pick 400KG if the load is everyday family storage — seasonal tubs, sport gear, kids’ kit, paint, garden bits, light home gym. The Rack It 1000KG range is also available and recommended if the load is workshop-grade or trade-grade: engine parts, full-bag concrete, stacked timber or heavy fitness equipment. The Rack It PRO range, the third range in Rack It designed to be compatible with 1000KG, layers in cabinetry and accessories.

Two depths. Rack It 400KG garage shelving in 530mm and 430mm depths, side by side.
Step 3: Plan the Layout with the Rack It Planner
Use the Rack It Planner to design a layout that fits your space, storage needs and budget.
Once the space is measured and the range is picked, you can plan customised layouts if you need more storage than a starter kit can provide. The Rack It Planner is a free online tool that takes the measurements, the budget and the storage need, and gives you a configuration that actually fits, including the Shelves, Uprights, Support Braces and any add-ons needed to make the bay (or bays) work in the chosen space.
The Planner does the job a tape measure can’t: it confirms whether multiple bays fit side-by-side against the back wall, whether a shelf height needs lowering to clear something on the wall (like a hot water unit), or what the layout will cost. It also passes the configuration straight through to the Bunnings cart and checkout.
For first-time Rack It buyers, this is the step that turns a plan into a confident purchase for you. Skipping it is the most common reason a setup may need adjusting after the fact.
Step 4: Assemble the Unit with the Slot and Lock with a Pin Method
Assemble Rack It shelving by slotting Beams, locking them in place and securing every connection with Safety Pins.
Rack It shelving units from 400KG and 1000KG ranges use the same slot and lock with a pin assembly: Beams slot into the Uprights, secured with a tap of a rubber mallet, and locked with a Safety Pin. Each unit can take about ten minutes once the rhythm is set, and a 400KG Starter Kit lands inside an hour for most first-timers. Faster with extra hands too
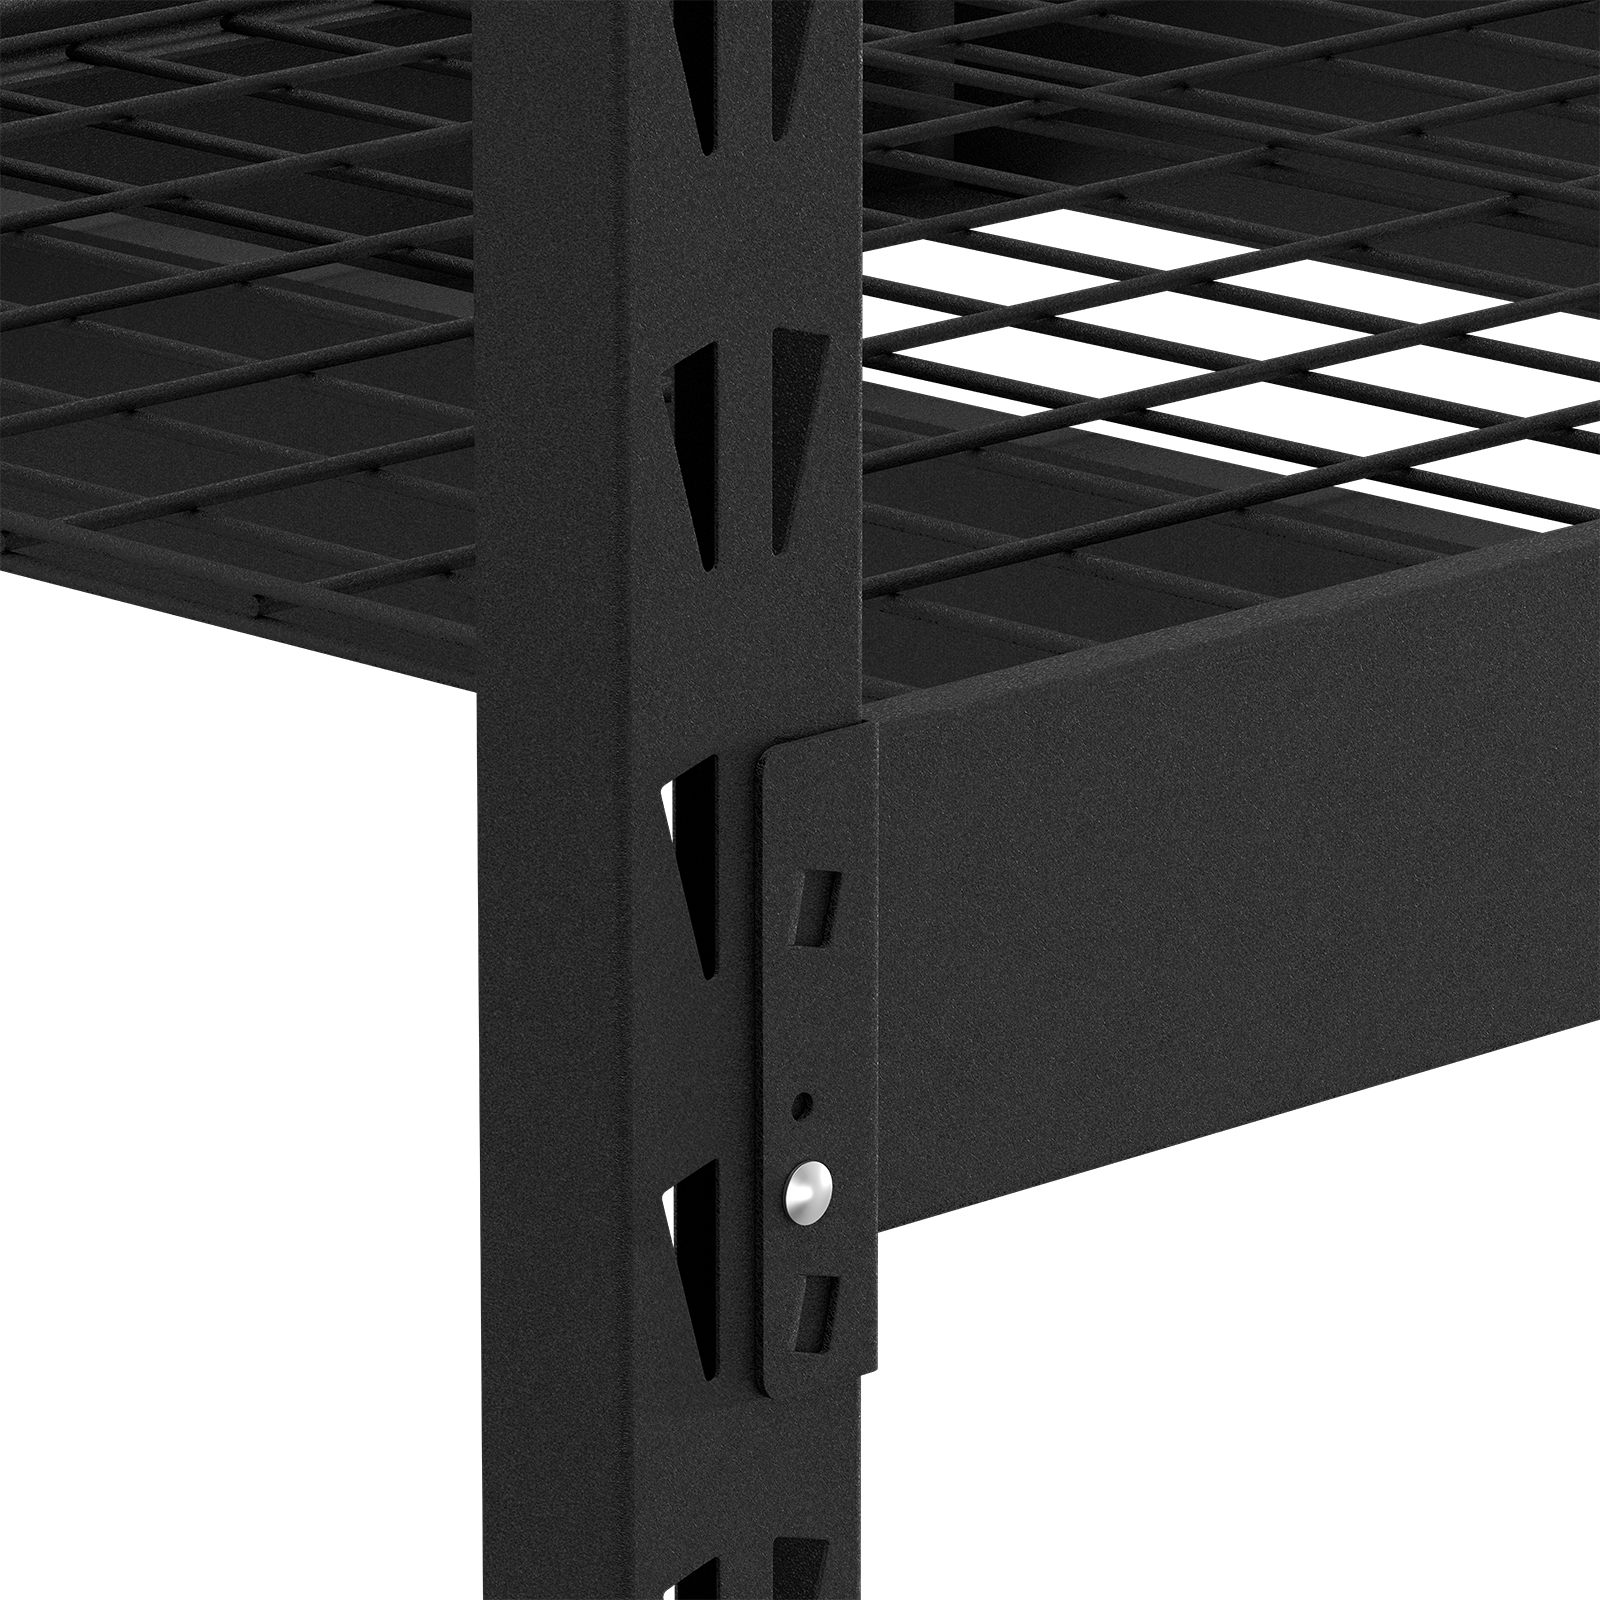
Slot and lock with a pin.
- Stand the two Uprights vertical. Starting at the lowest level, install the Beams into the Uprights, working from bottom to top, and back to front to keep the frame square and stable. Tap each Beam connection down with a rubber mallet until it sits fully flush — the fit should feel solid, not loose or wobbly.
- Once all Beams are installed, fit the Support Braces into the Beams as specified for the shelf width of your bay. Make sure each Brace is fully seated.
- Install your Wire or MDF Shelves, lowering them into the recessed Beam channels so they sit flat and secure.
- Finally, insert the Safety Pins through every Upright/Beam connection point to lock the structure in place.